Why Floor Protection Is Non-Negotiable in Renovation
Renovation is when floors get damaged most. New floors are installed early and then face weeks of dust, tools, paint, and foot traffic. Existing floors that are being kept face the same risks from the work above them. Floor protection film is the single most effective, lowest-cost way to guarantee the floor survives the project in perfect condition.
What You Need to Protect
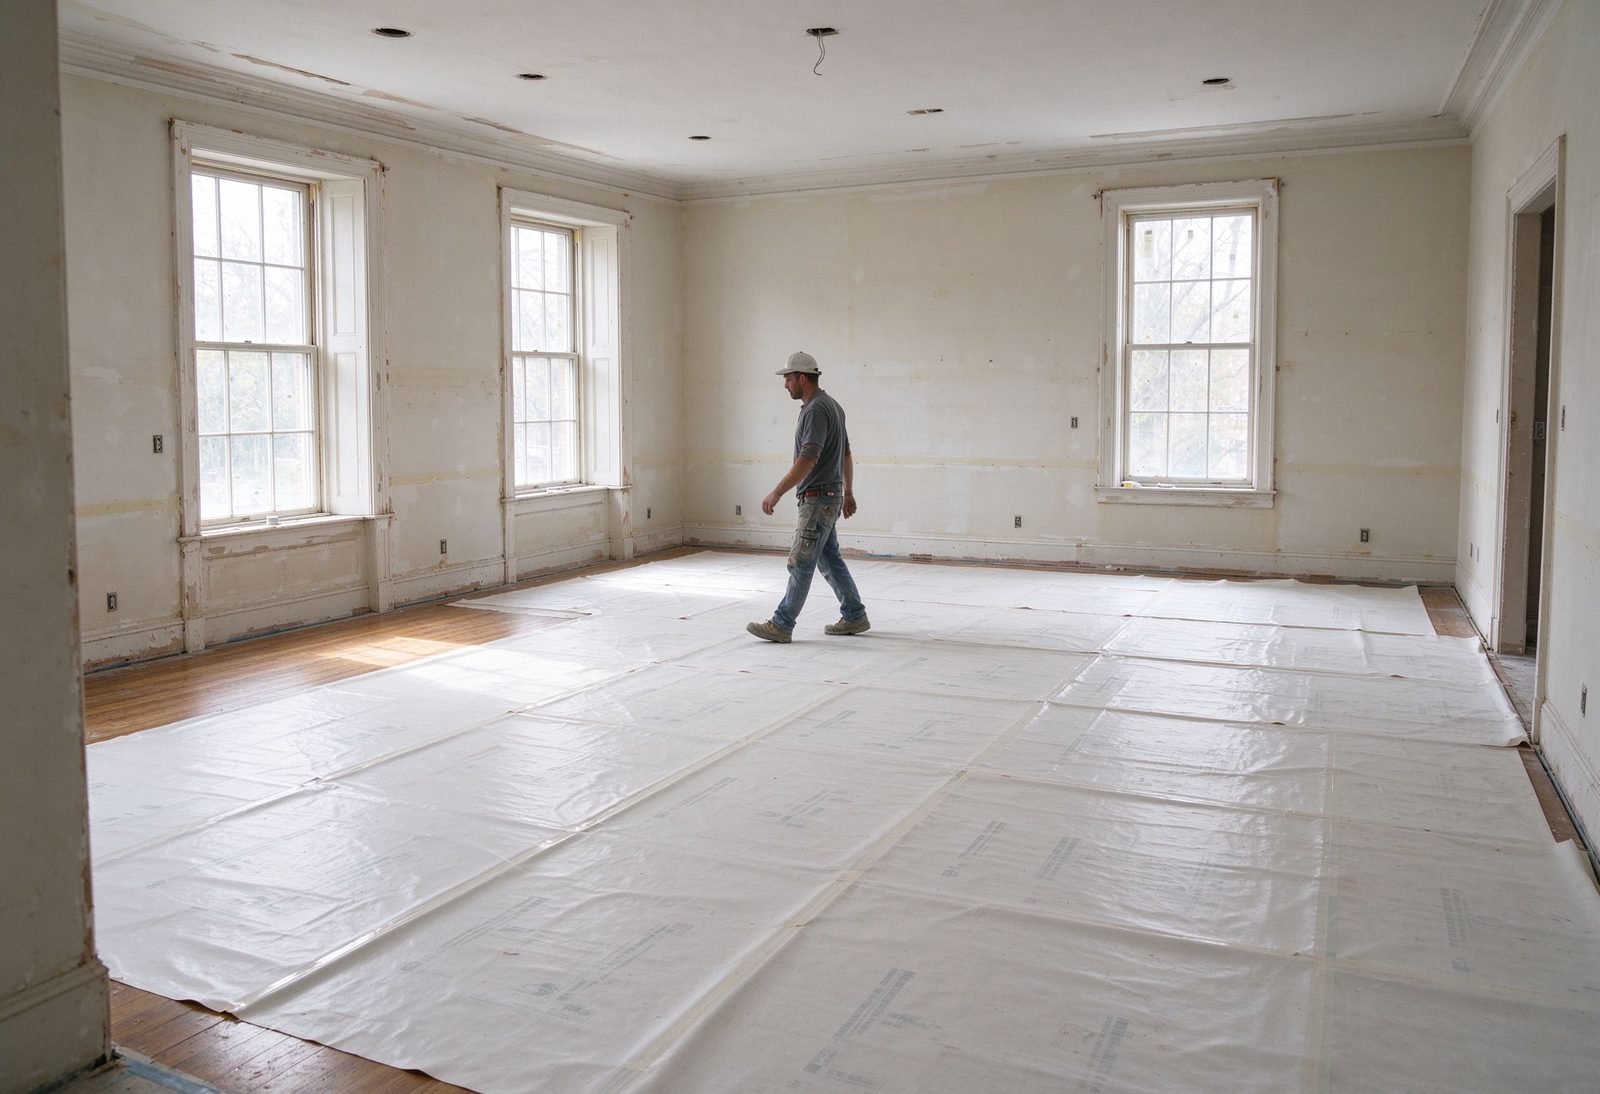
Hardwood, laminate, and vinyl floors scratch from grit and indent from dropped tools. Tile floors dull from debris and stain from grout and paint. Marble and stone etch from spills. Carpet fibers crush and stain under heavy traffic. Each surface needs the right film grade, but the principle is the same: cover the floor completely from day one of the work that could damage it.
Choosing the Right Film for Each Surface
Hardwood and Laminate
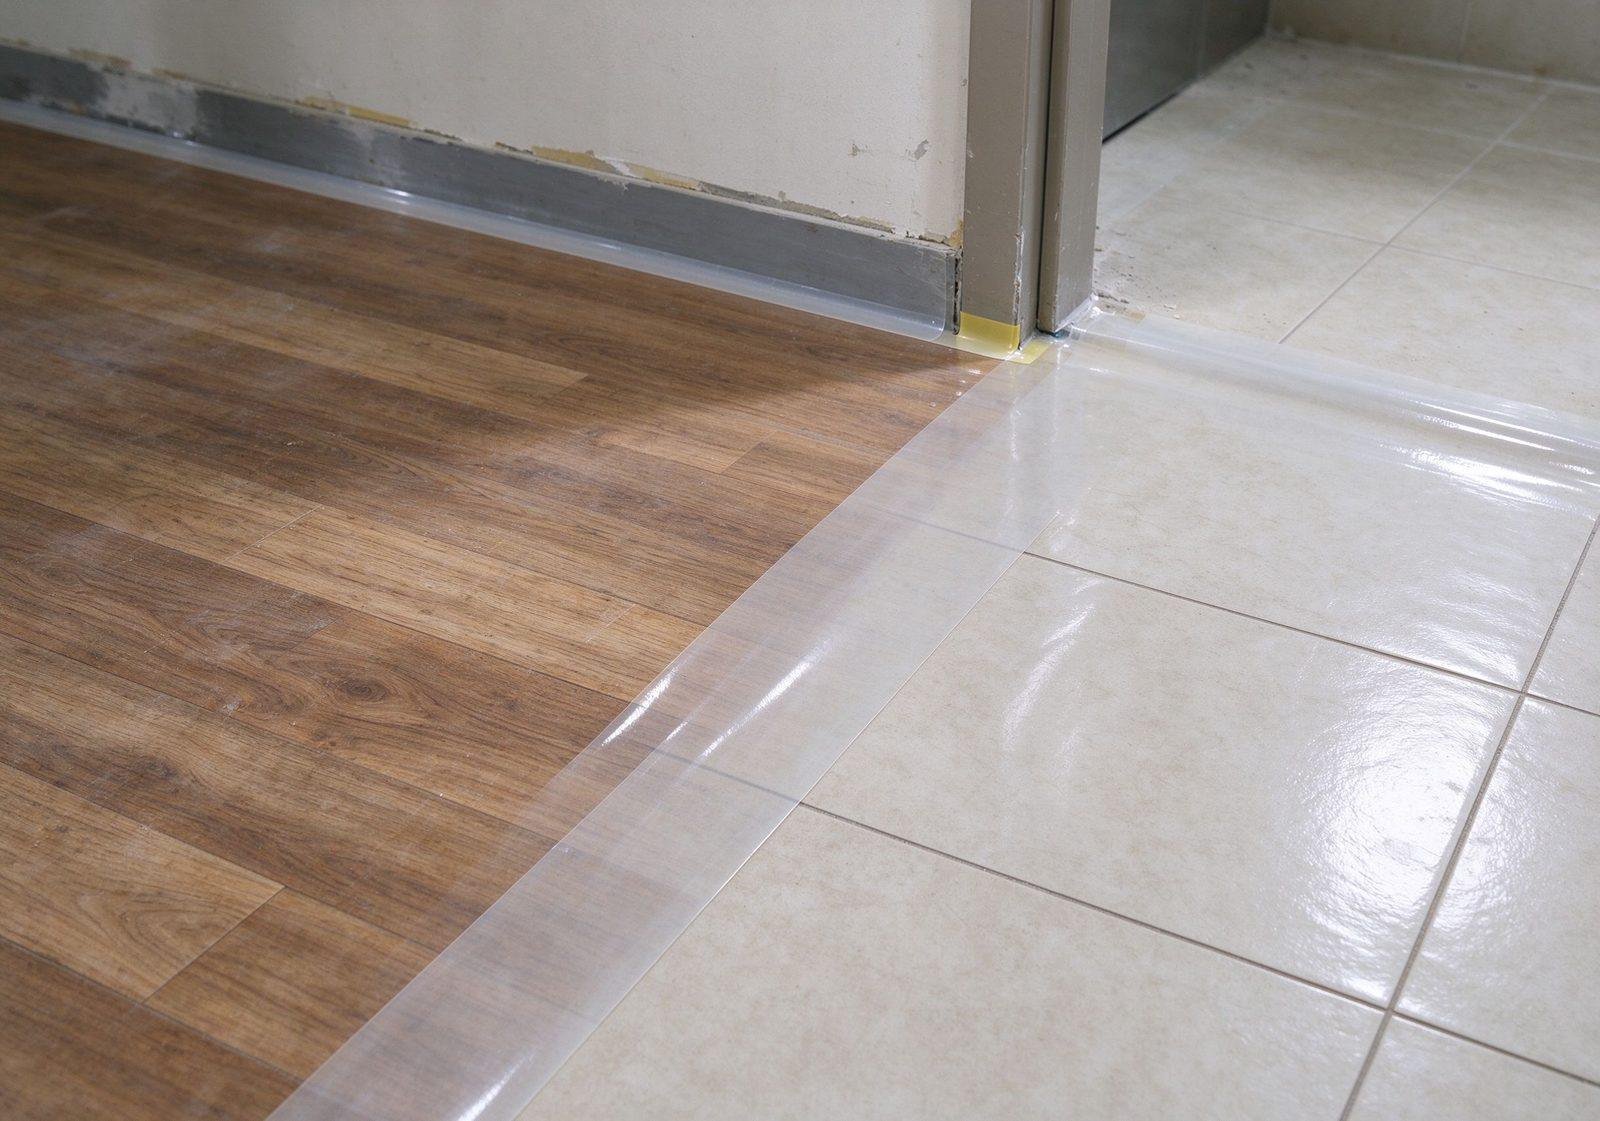
Use medium-tack self-adhesive film or adhesive-edge film. Avoid film that leaves adhesive residue on lacquered wood. Protect for the full renovation cycle, typically 2–6 weeks.
Tile and Stone
Use adhesive-free or light-tack film for polished surfaces, heavier film for textured tiles. Verify residue-free removal on a sample before full coverage.
Carpet
Use transparent carpet film that holds firmly to the pile without crushing it. Many contractors use the same film for carpet and hard floors.
Application Process That Works
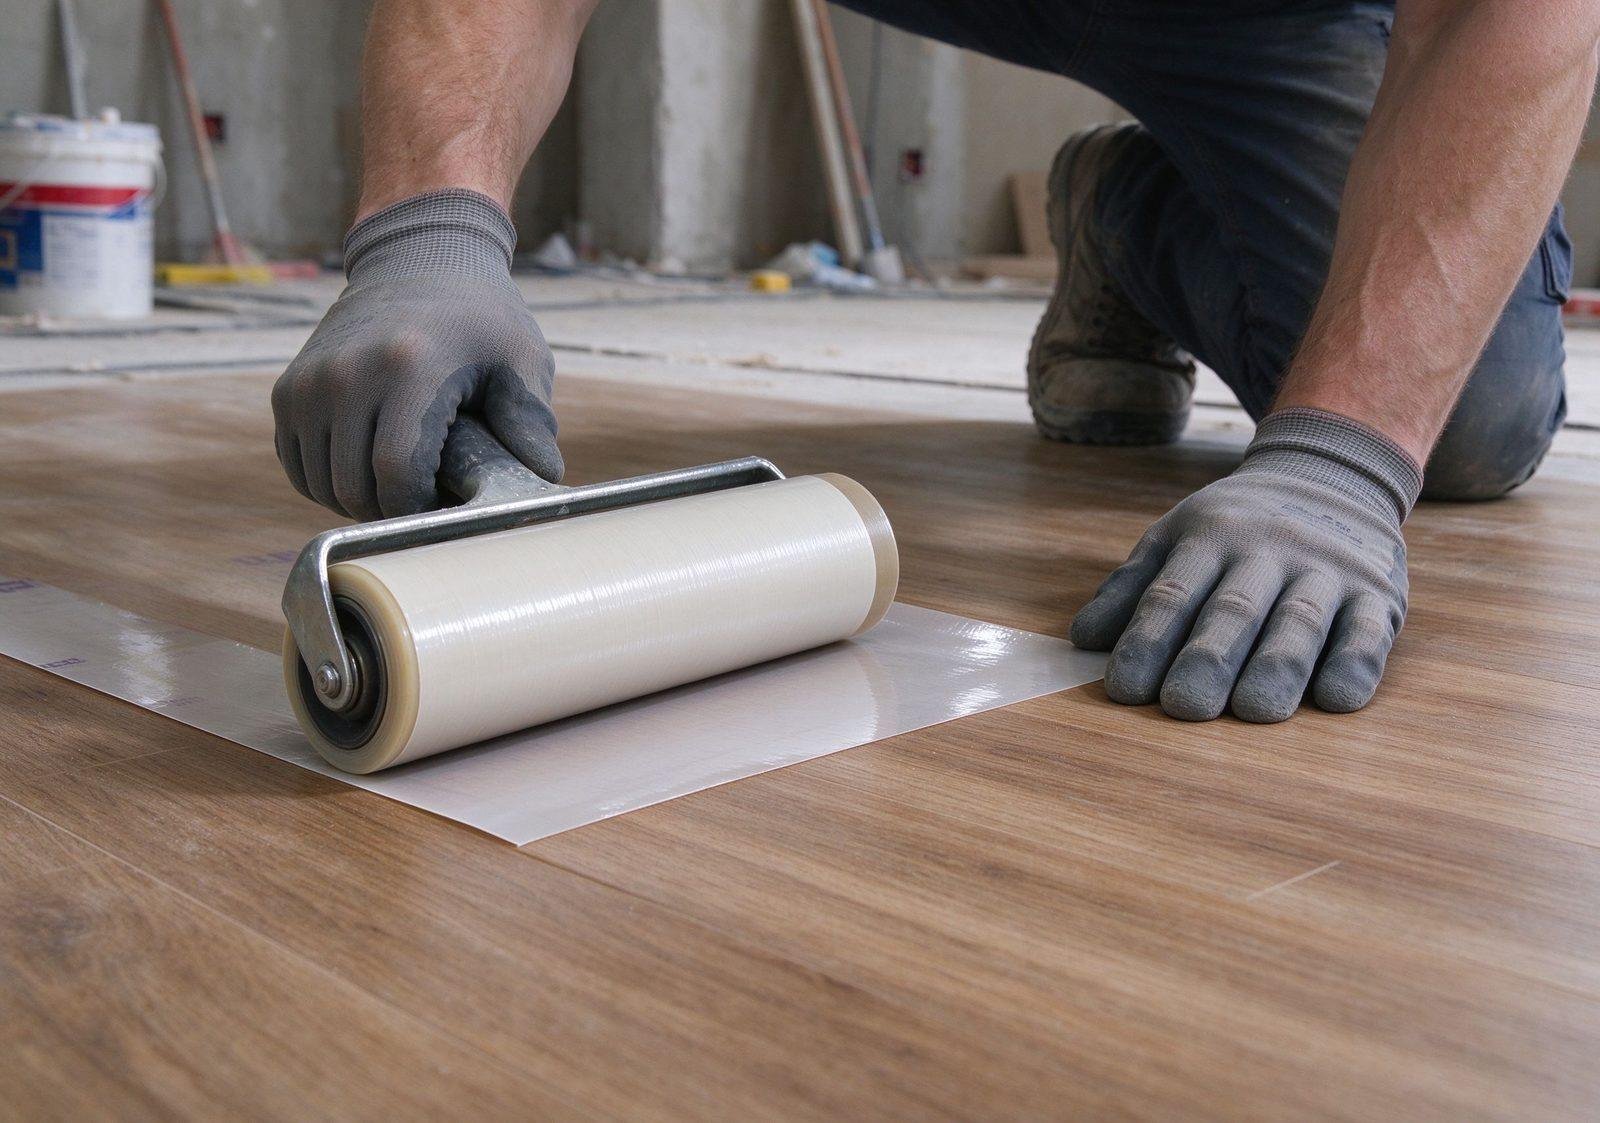
First, sweep and vacuum the floor completely. Second, lay the film starting from one corner, overlapping strips by 5–10 cm. Third, press edges and seams with a soft roller or hand. Fourth, tape seams and edges with low-tack floor tape, especially in high-traffic paths. Finally, mark the film with signage so workers know it is there.
Removal and Final Clean
Remove the film in stages: high-traffic areas first, then the rest just before handover. Peel at a shallow angle and slow speed to avoid tearing. If adhesive residue appears, warm the film slightly or use a residue remover suitable for the floor. Sweep and mop after removal, and inspect corners where film may have lifted and let dust in.
FAQ
When should the film go on? Immediately after the floor is installed and cured, before any other trade works in the room.
How much film do I need? Measure the floor area and add 10 percent for overlap and waste. Large rolls cover projects faster with fewer seams.
Can the film handle heavy equipment? Standard renovation film handles foot traffic and light tools. For heavy equipment, add plywood or hardboard over the film in load paths.
Explore our carpet and floor protection film manufacturing solutions for complete renovation protection in bulk rolls.